Your First Visit

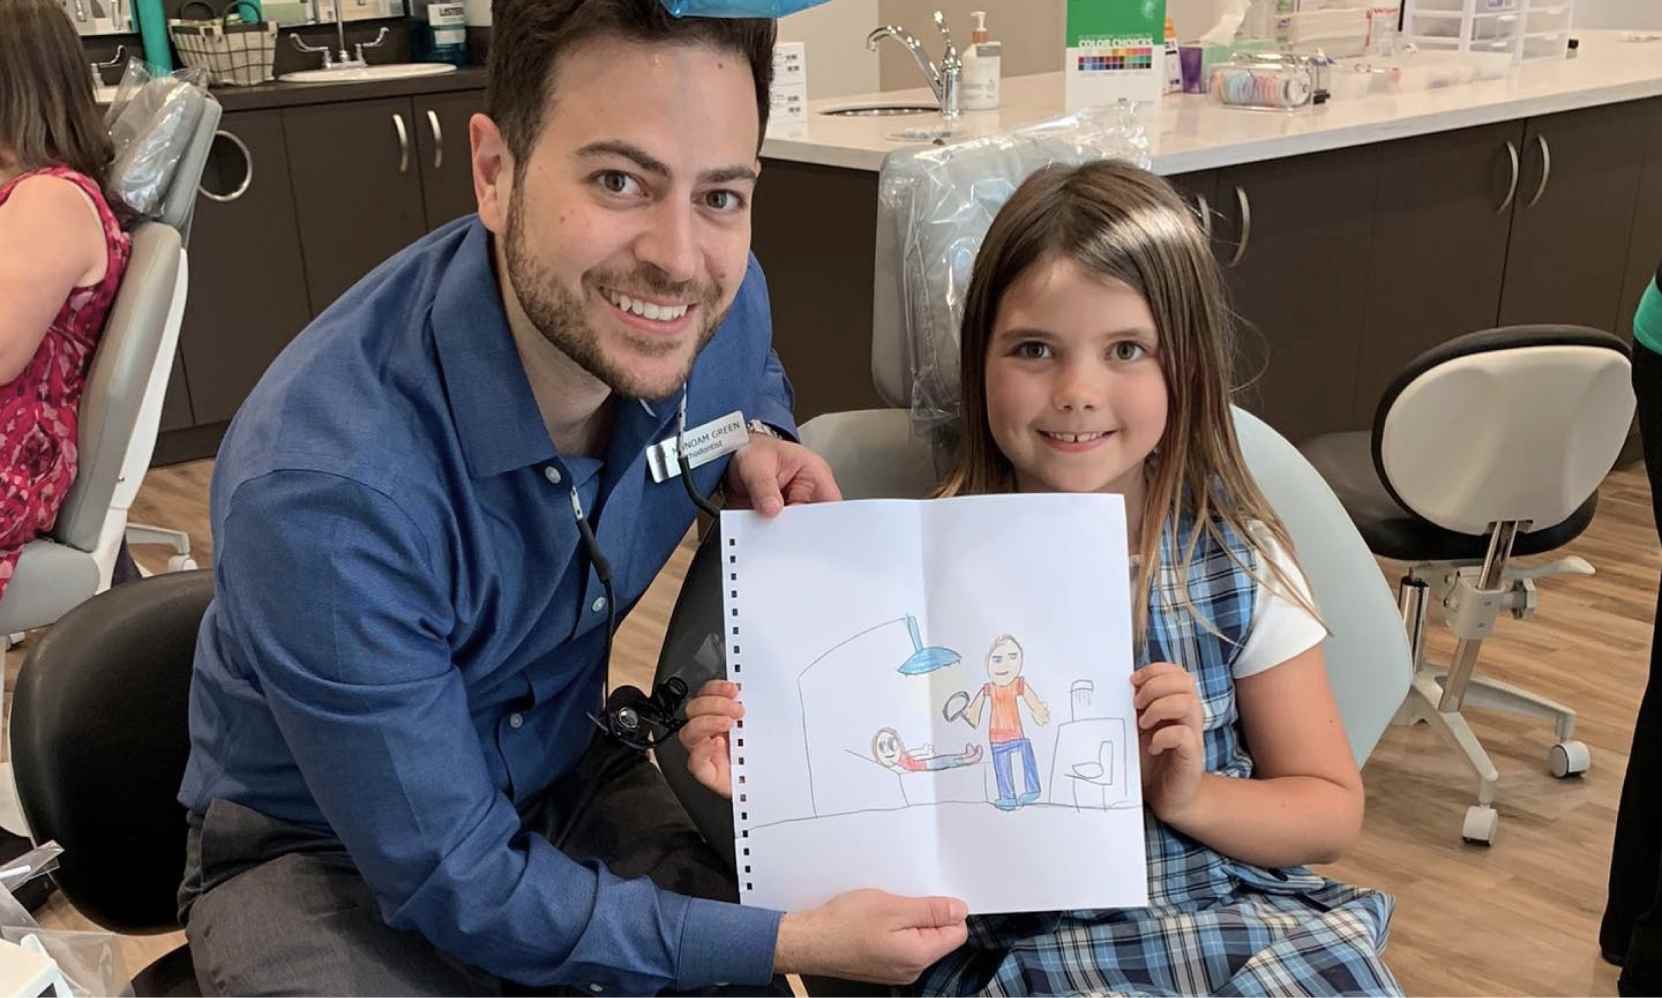
Welcome to Green Orthodontics in Decatur! Your time is valuable to us, therefore, we’ve made it simple and convenient to see Dr. Green as soon as possible. Here are four easy steps to getting a better smile!

Schedule A Complimentary Consultation

Fill out our Complimentary Consultation form and our team members will contact you shortly to confirm your scheduled date and time.

Online Registration & Insurance Verifications

We’ve made it easy for you to fill out registration forms and get insurance verifications online through Orthofi.com (our online portal). Just sign up and we’ll get your insurance verified. If you’d like to fill out forms within our office, please arrive 15 minutes prior to your appointment. We’ll have an iPad ready for you.

Your First Appointment

You’ll meet with Dr. Green for a comprehensive evaluation and treatment options. We’ll do our best to begin treatment on that same day. Our treatment coordinator is available if you would like to schedule otherwise.

Choose Your Payment Plan

Through Orthofi.com (our online portal), you’ll be able to customize your payment plan to your discretion. We also offer extended in-house financing for your convenience.

Treatment After-Care Instructions

Wearing & Using Your Invisalign Aligners

Congratulations on beginning your clear aligner treatment and welcome to the Green Orthodontics family!

Now that you’ve received your aligners, these boxes will not be your last! At the end of this set, you will be scheduled to come in and we will take records and scan you for your next set of aligners.

For optimal results please wear your aligners for 22 hours a day. You will also need to change your aligners every 7 days unless the teeth are not moving with the aligners well or if you have not been wearing them as often as directed.

Always Remember To:

Make sure you have the proper aligner—the upper for your top teeth and the lower for your bottom teeth.

To help avoid confusion, each aligner is engraved with your unique case number, a “U” for upper and an “L” for lower, followed by the stage number.

You may insert either the upper or lower aligner first. When inserting each aligner, gently push the aligners over your front teeth. Then apply equal pressure, using your fingertips, to the tops of your left and right molars (back teeth) until the aligner snaps into place.

Do NOT bite your aligners into position. This may damage them.

Note: If you experience sharp pain or significant discomfort, discontinue the use of the aligners and contact your orthodontist.

On one side of your mouth, use your fingertip on the inside of your back molar to slowly pull the aligner from your molars.

Repeat this process on the other side of your mouth before trying to completely remove the aligner.

Once the aligner is disengaged from the molars on both sides of your mouth, you should be able to slowly work your way forward gently prying the aligner away from your teeth with your fingertips.

Remember, when removing your aligners, do not pry them out from one side. Instead, gently remove from the inside, one side at a time then remove the front.

  • Immediately rinse the aligner with water, shake off excess water, and store your aligners in the protective case provided with your starter kit.
  • To help prevent damage to the aligners, avoid unnecessary removal.
  • Take care in removing your aligners, especially if multiple attachments are being used.
  • Do not use excessive force to bend or twist an aligner to get it off.
  • DO NOT use any sharp object to remove your aligners.
  • Consult with your doctor if your aligners are extremely difficult to remove.

Keep aligners clean and odor free by brushing them with a toothbrush (you may use dish soap but avoid toothpaste as it may create small scratches that can stain). Only use cold or room-temperature water to clean your aligners.

  • Do NOT use hot water, as this will warp your aligners.
  • Do NOT use denture cleaners to clean aligners.
  • Do NOT soak them in mouthwash.

These products can damage the surface of the aligner, causing it to become dull and more visible.

If attachments were placed on your teeth, keep in mind that they may stain if you eat or drink certain foods (ex. coffee, tea, curry, wine). These stains come off when the attachments are removed. If you love coffee, we recommend drinking it quickly as opposed to sipping it over a longer period of time.

If you were asked to wear elastics during your treatment, these are to be worn as often as you wear your trays (22 hours a day). Change your elastics after every meal. You might feel some discomfort at first but if you wear them consistently the discomfort will go away. If you run out of elastics, please come pick up more.

Remember “In your face or in the case” – please don’t place the aligners in a napkin or leave it accessible to pets. Keep your finished aligners and put them back in their bags until treatment is completed. ​

The last 4 aligners in each set of boxes are passive and are to be used while we wait for the next set of boxes. We may recommend that you wear these passive aligners for 2 weeks each depending on your specific treatment timing needs.

Note: Keep all of your older aligners in a clean plastic bag, or as instructed by your orthodontist. Keep them out of reach of small children and pets.

Caring For Your Braces

Remember, you have TWO very important jobs to do:

  1. Keep your braces on
  2. Keep your braces clean

When you first get braces put on your teeth, you may feel as though you have very limited choices regarding what you can eat while you’re wearing braces. We want all of our patients wearing braces to have a good experience while in treatment. The day you had your braces put on, we discussed with you the importance of avoiding some types of foods which can damage or break your braces. We also told you that you will need to change your eating habits a bit as your brackets are not made to stand up to the stress of biting into anything. 

So you may be wondering what you can eat. Well, the great news is that you can eat many types of foods without worrying about damaging or breaking your braces. For example, you can still eat those foods you would normally bite into by simply cutting the food into small pieces and chewing with your back teeth. Among the many types of foods you can safely eat while wearing braces includes:

These are just some of the foods you can enjoy while wearing your braces. Just remember to completely steer clear of hard, sticky, gooey, and crunchy foods that can easily damage and break your braces. Don’t forget that you shouldn’t bite down on any food as doing so can very easily break your braces. If you’re tempted by something like fresh corn on the cob this summer, you can still dig in if you cut the kernels off the cob before eating. If you have any questions about what foods you can or cannot eat while wearing braces, don’t hesitate to contact us, we’re always happy to help!

Braces Care Guidelines

The following routine will help make daily brushing and flossing both simple and effective.

Quick Tips & Tricks

This is not an emergency but can be a little uncomfortable or embarrassing for the braces-wearing patient. It is easily fixed with a piece of dental floss. Try tying a small knot in the middle of the floss to help remove the food, or use an interproximal brush or toothpick to dislodge food caught between teeth and braces.

Soreness is to be expected for the first few days but can last up to two weeks for some people. Feel free to take whatever over the counter medicine you would normally take for a discomfort – do not exceed the recommended dose.

For the first week, you may experience some irritation on the inside of your lips and cheeks. If you would like to cover a bothersome spot with wax, first dry that bracket, then press a small ball of wax over the affected area.

You may also use a warm salt water rinse to encourage healing.

For some types of bites, buildups or bite pillows are often used for the first 3-6 months of treatment to prevent patients from biting directly into the lower braces and to accelerate the opening of the bite. It may take a few weeks to get used to the accompanying soreness and the feeling of not being able to bite down all the way.

Remember, the glue we use is strong but it is temporary to allow for braces removal. Avoid the foods mentioned above and avoid chewing on or picking your teeth with foreign objects and or your fingers.

If a bracket is loose or broken but not uncomfortable, a repair can usually wait until your next appointment. Please send us a picture so we can determine the best next step.

We understand that mistakes happen, your first 4 broken brackets are on us! After that, there is a $25 repair fee per bracket.

Expander Instructions

This expander is designed to widen the maxilla (top jaw) to create more room for teeth to come in. Expanders are also used to correct crossbites. This is when one or more of the upper back teeth bite on the inside of the lower teeth.

Expanders are glued into place with the back adult molars as anchors. It will be removed in our office after the expansion is complete. The expander will be left in the mouth for 6-9 months.

How To Turn The Expander:

  • Have your child lying down flat on the couch or bed so you have clear access to the expander jackscrew hole.
  • Insert the key (yours has a blue handle) into the hole of the screw and activate the screw by turning it towards the back of the mouth until you see the next hole.
  • Remove the key without unwinding the screw.
  • To begin, please turn the screw once a day for 14 days.

Important Notes

  • You will feel pressure, not pain when turning the expander and for approximately 15 minutes afterward.
  • At first, you will experience increased saliva production and some difficulty eating and swallowing.
  • Speech will be difficult for the first few days after placement but should become easier after this short time.
  • Clean your teeth and the expander 3 times per day (after breakfast, after school, and before bed).
  • In addition to brushing and flossing, a Waterpik can be useful to maintain proper oral hygiene.
  • The following foods should be avoided when the expander is in the mouth: gum, any type of nut (watch out for hearty types of bread), ice (chewed or sucked), and hard, chewy, or sticky candies.
  • You may notice a space opening between your two front teeth. This is normal and means the
    expander is working well! Your space will be closed with your braces.
  • Most patients adapt to their expanders within a day or two. However, it may take up to a week for soreness to subside. You may use over-the-counter medications, rinse with warm salt water, use wax as directed (on any poking area), and discontinue turns until your next visit if needed.

Proper Retainer Wear & Care

Congratulations, you’ve now completed the biggest step in your smile journey and have graduated to the retention phase! This is an essential part of the treatment process, and if followed correctly, will ensure your beautiful smile lasts. If your retainers are to do their important job, you must keep in mind a few key things:

Congratulations! You have successfully completed the most dramatic changes your smile has ever seen. It is now time to maintain your smile in its present state. Your new retainers are an important aspect of your orthodontic treatment. Your teeth have been moving to their current position for a long time – it is important to hold them in place while the bones and gums adjust to their new positions.

Very Important: You MUST wear your retainers for close to 24 hours a day for 3 months*. After that, you will need to wear your retainers at least at night time. Because your body is constantly growing and changing, your teeth will inevitably move at least a little bit throughout life. Retainers can dramatically slow down this process.

  • For phase I retainers, we recommend retainer wear at night only.
  • Keep the gray models of your teeth since they can be used to make replacement retainers.

Once you receive your retainers, you will be expected to wear them all the time. The only time you should take them out is when you brush your teeth and when you eat. When brushing your teeth, you should also clean your retainers with your toothbrush and cold or room-temperature water. DO NOT use hot water as this will warp your retainer. When eating, your retainer should be placed in your case. Occasionally, you will need to have your retainers adjusted, as they may become loose or just “not fit as well”. We are proud to offer complimentary retainer checks for one year, so if you have any questions or problems with your retainers, please call and schedule an appointment with us so that we can maintain the product of all your hard work… your beautiful smile!

Shifting of the teeth after treatment is expected for all patients throughout life. Retainers reduce this tendency greatly but some undesirable movement is unavoidable. For any patient treated in our office, we are proud to offer our Smile Protection Program. If you would like to re-enter treatment to correct shifting or relapse of your teeth, you will be eligible to receive re-treatment for a reduced fee. If you were treated with Invisalign, you may be asked to cover the lab fee if your treatment with AlignTechnology has expired. Additional terms and conditions may apply

Lower Lingual Holding Arch (LLHA) Instructions

This LLHA is designed to maintain space for teeth to come in. It is glued into place with the back adult molars as anchors. It will be removed in our office after the teeth come in.

Important Notes

  • At first, you will experience increased saliva production.
  • Clean your teeth and the LLHA 3 times per day (after breakfast, after school, and before bed). In addition to brushing and flossing, a Waterpik can be useful to maintain proper oral hygiene.
  • The following foods should be avoided when the LLHA is in the mouth: Gum, any type of nut (watch out for hearty types of bread), ice (chewed or sucked), and hard, chewy, or sticky candies.
  • Most patients adapt to their LLHA within a day or two. However, it may take up to a week for any soreness to subside. You may use over-the-counter medications, rinse with warm salt water, and use wax as directed (on any poking areas).

Nance Instructions

This Nance is designed to maintain space for teeth to come in. It is glued into place with the back adult molars as anchors. It will be removed in our office after the teeth come in.

Important Notes

  • At first, you will experience increased saliva production.
  • Clean your teeth and the Nance 3 times per day (after breakfast, after school, and before bed). In addition to brushing and flossing, a Waterpik can be useful to maintain proper oral hygiene.
  • The following foods should be avoided when the Nance is in the mouth: Gum, any type of nut (watch out for hearty types of bread), ice (chewed or sucked), and hard, chewy, or sticky candies.
  • Most patients adapt to their Nance within a day or two. However, it may take up to a week for any soreness to subside. You may use over-the-counter medications, rinse with warm salt water, and use wax as directed (on any poking areas).

Green Bucks

To help our patients fulfill their treatment goals, we reward Green Bucks at regular visits for excellent cooperation (rubber bands, Invisalign, etc.), not breaking braces, excellent oral hygiene, and arriving 5 minutes early to an appointment! Green Bucks are also rewarded for getting cleanings with your dentist and sharing the Green Orthodontics love with your friends and the community. Your Green Bucks can be saved and redeemed for a variety of prizes, gift certificates, and other great prizes!

This is our way of saying “Thank you for being such a great patient!” At your next appointment, ask our team how to get started using your Green Bucks.

Financial Information

Obtaining a healthy and attractive smile is one of the best investments you can make. At your initial consultation, Dr. Green will determine your individual orthodontic needs and our treatment coordinator will discuss the fees associated with your customized treatment plan. Most of our patients are pleasantly surprised to find that our office makes getting straight teeth affordable. We want to help you fit this important treatment into your budget and make every effort to keep finances from getting in the way of the smile you deserve.

At Green Orthodontics we participate with most PPO Insurances that offer orthodontic benefits. Our team will file all necessary claims on your behalf, and our treatment coordinator will be happy to explain your benefits at your initial consultation.

We accept most major forms of payment including check, debit, credit, FSA, HAS, and cash. We also offer Green Bucks as a fun way to earn rewards for following treatment guidelines and attending all appointments!